Design a room from your phone.
Photograph the room you are standing in, say in one line what should change, and the restyled image comes back as the next message in the thread. Projects are fully editable on a phone. Four tools stay on desktop, and all four are floor plan or map work.
What a phone runs, and the four things it does not
Almost the whole studio works on a handset. You can start a project, add photos, generate renders and AI sheets, make video clips and move work around the canvas, all with one thumb. A project opened on a phone is editable rather than read-only, which is the part most people assume goes the other way.
Four tools stay on a desktop, and they have a shape in common: three are drawing work at a scale a fingertip cannot hit, and the fourth runs unattended.
- Floor plan upload. Scanning a plan is the first half of tracing it, and tracing is the part that needs a precise pointer.
- Plan tracing. Corners are placed and nudged inside an area smaller than the fingertip covering them.
- Map tools. Site and satellite work assumes a large canvas and a scroll wheel.
- Auto mode. A long unattended chain of generations sits badly with a screen that sleeps and a connection that drops.
None of the four are hidden. They appear greyed out with a short note, so a feature that lives elsewhere never looks like a feature that vanished. The touch gestures behind all of this are in using the studio on a phone.
From standing in the room to a restyled render
The shortest route starts with the camera, for the plain reason that you are usually holding the phone in the room you want to change.
- Open a project and tap Take a photo on the start card. Choose a photo picks one out of your gallery instead.
- Shoot the wall you care about square on, with the floor line and as much of the ceiling as you can get. The more of the room the frame describes, the less of it has to be inferred.
- Say what changes in one line, and name anything that must stay where it is.
- Tap a suggested reply instead of typing the second prompt.
- Wait in the thread. The finished image arrives as the next message.
The device does not change the price. A render is charged by the quality you ask for, from about 21 credits for a concept (at most 52) up to 150 for a hero, and a new account starts with 100 credits, so the first renders are covered. How the agent runs a styling tool from inside the thread, without you opening the tool or knowing its name, is in the designer chat guide.
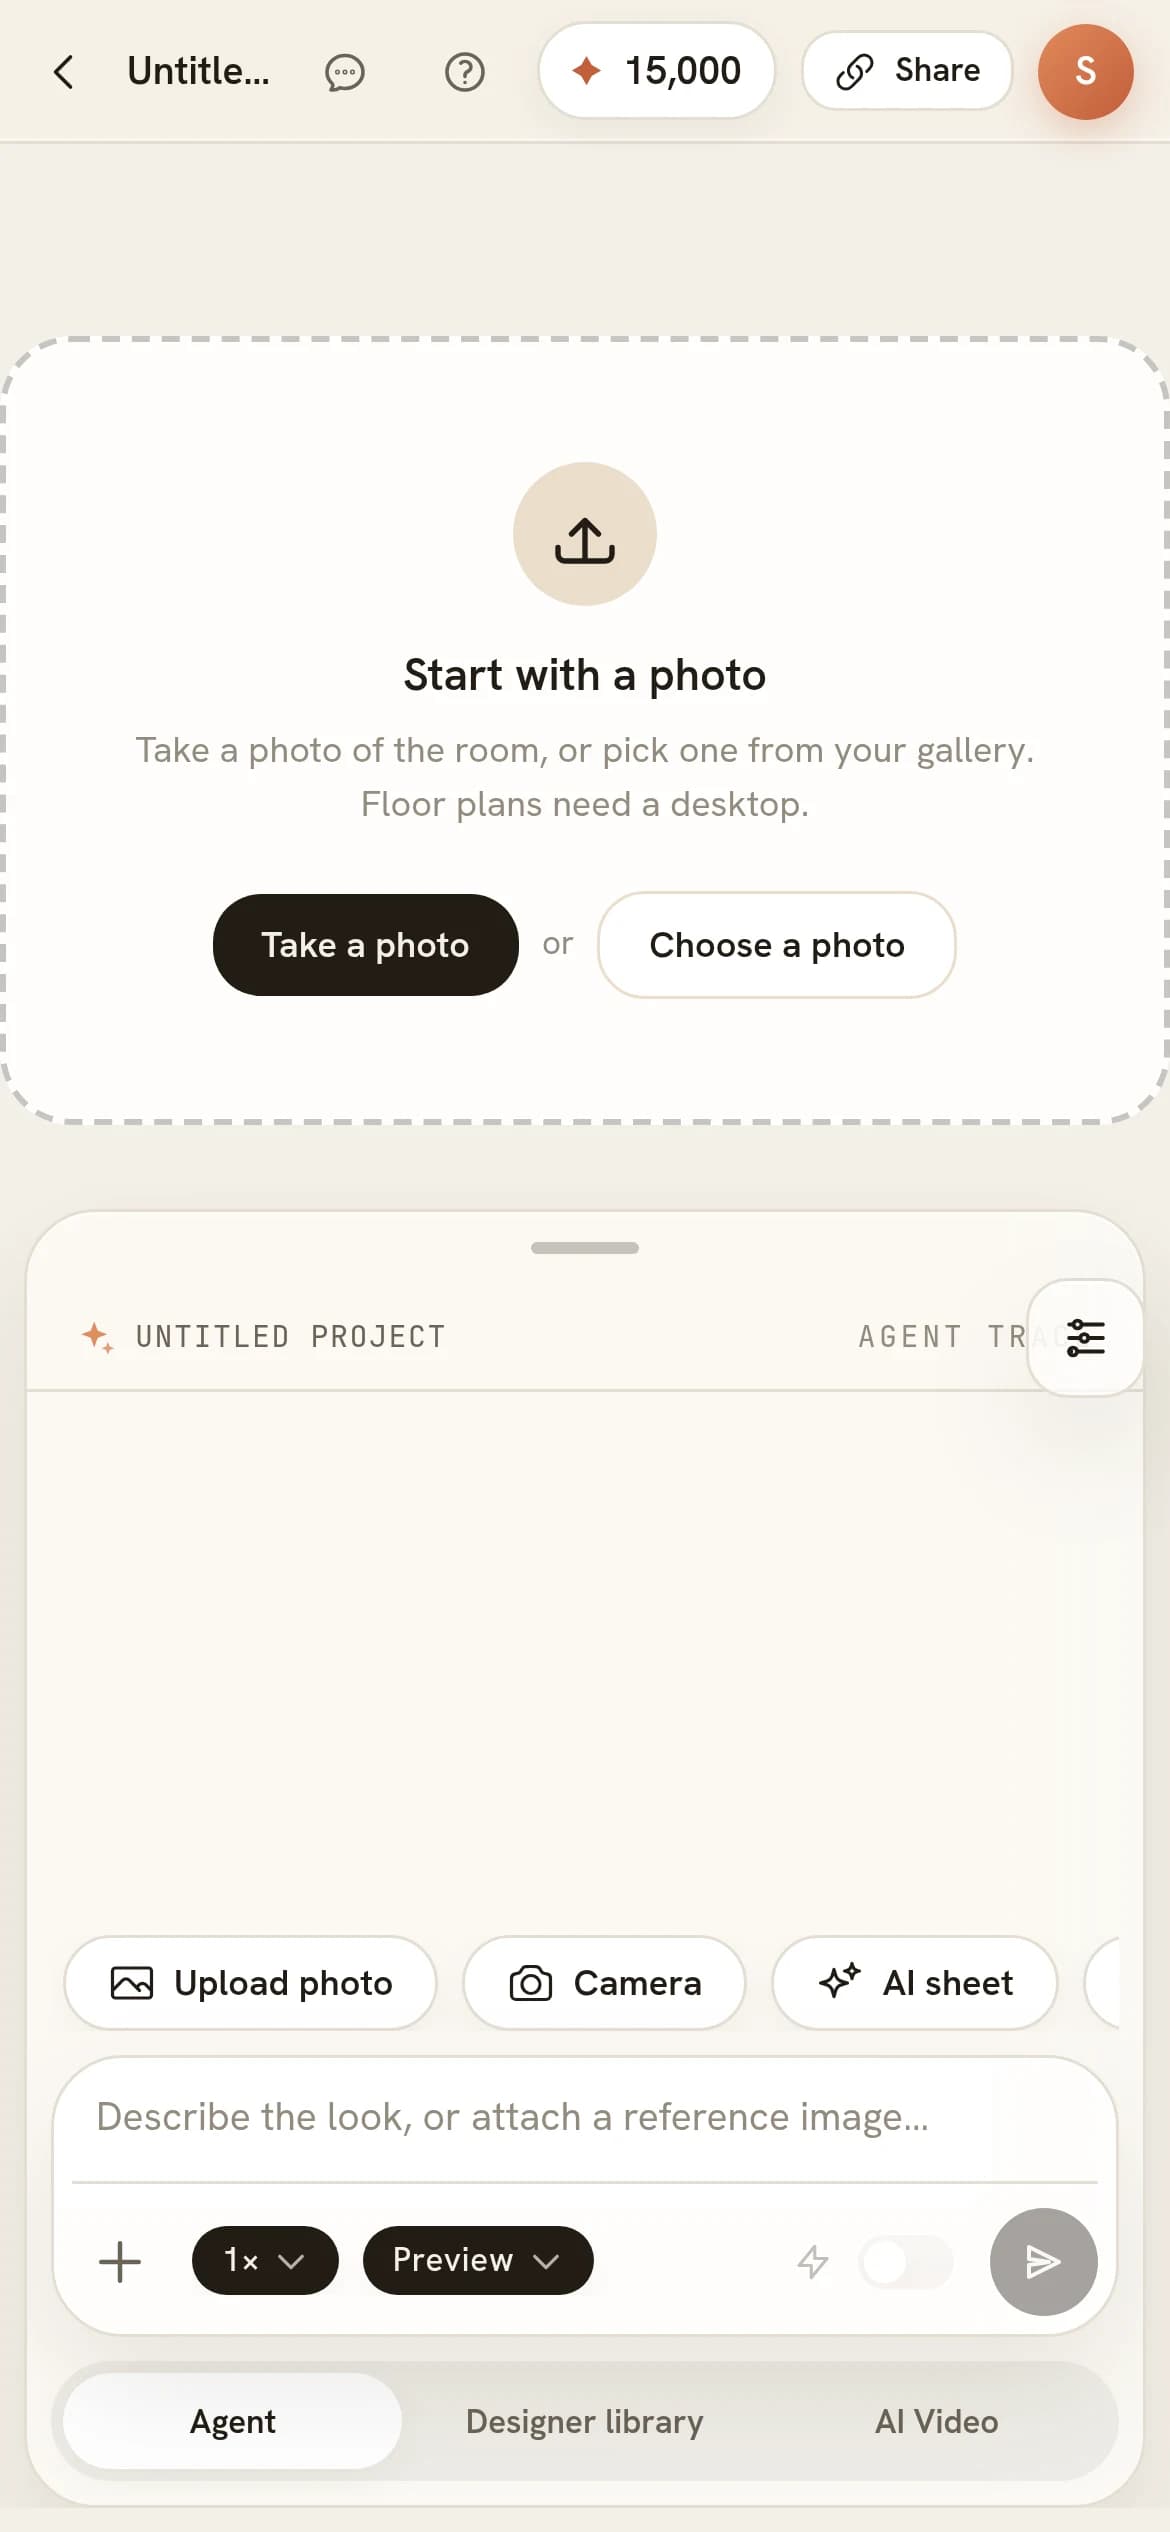
A new project
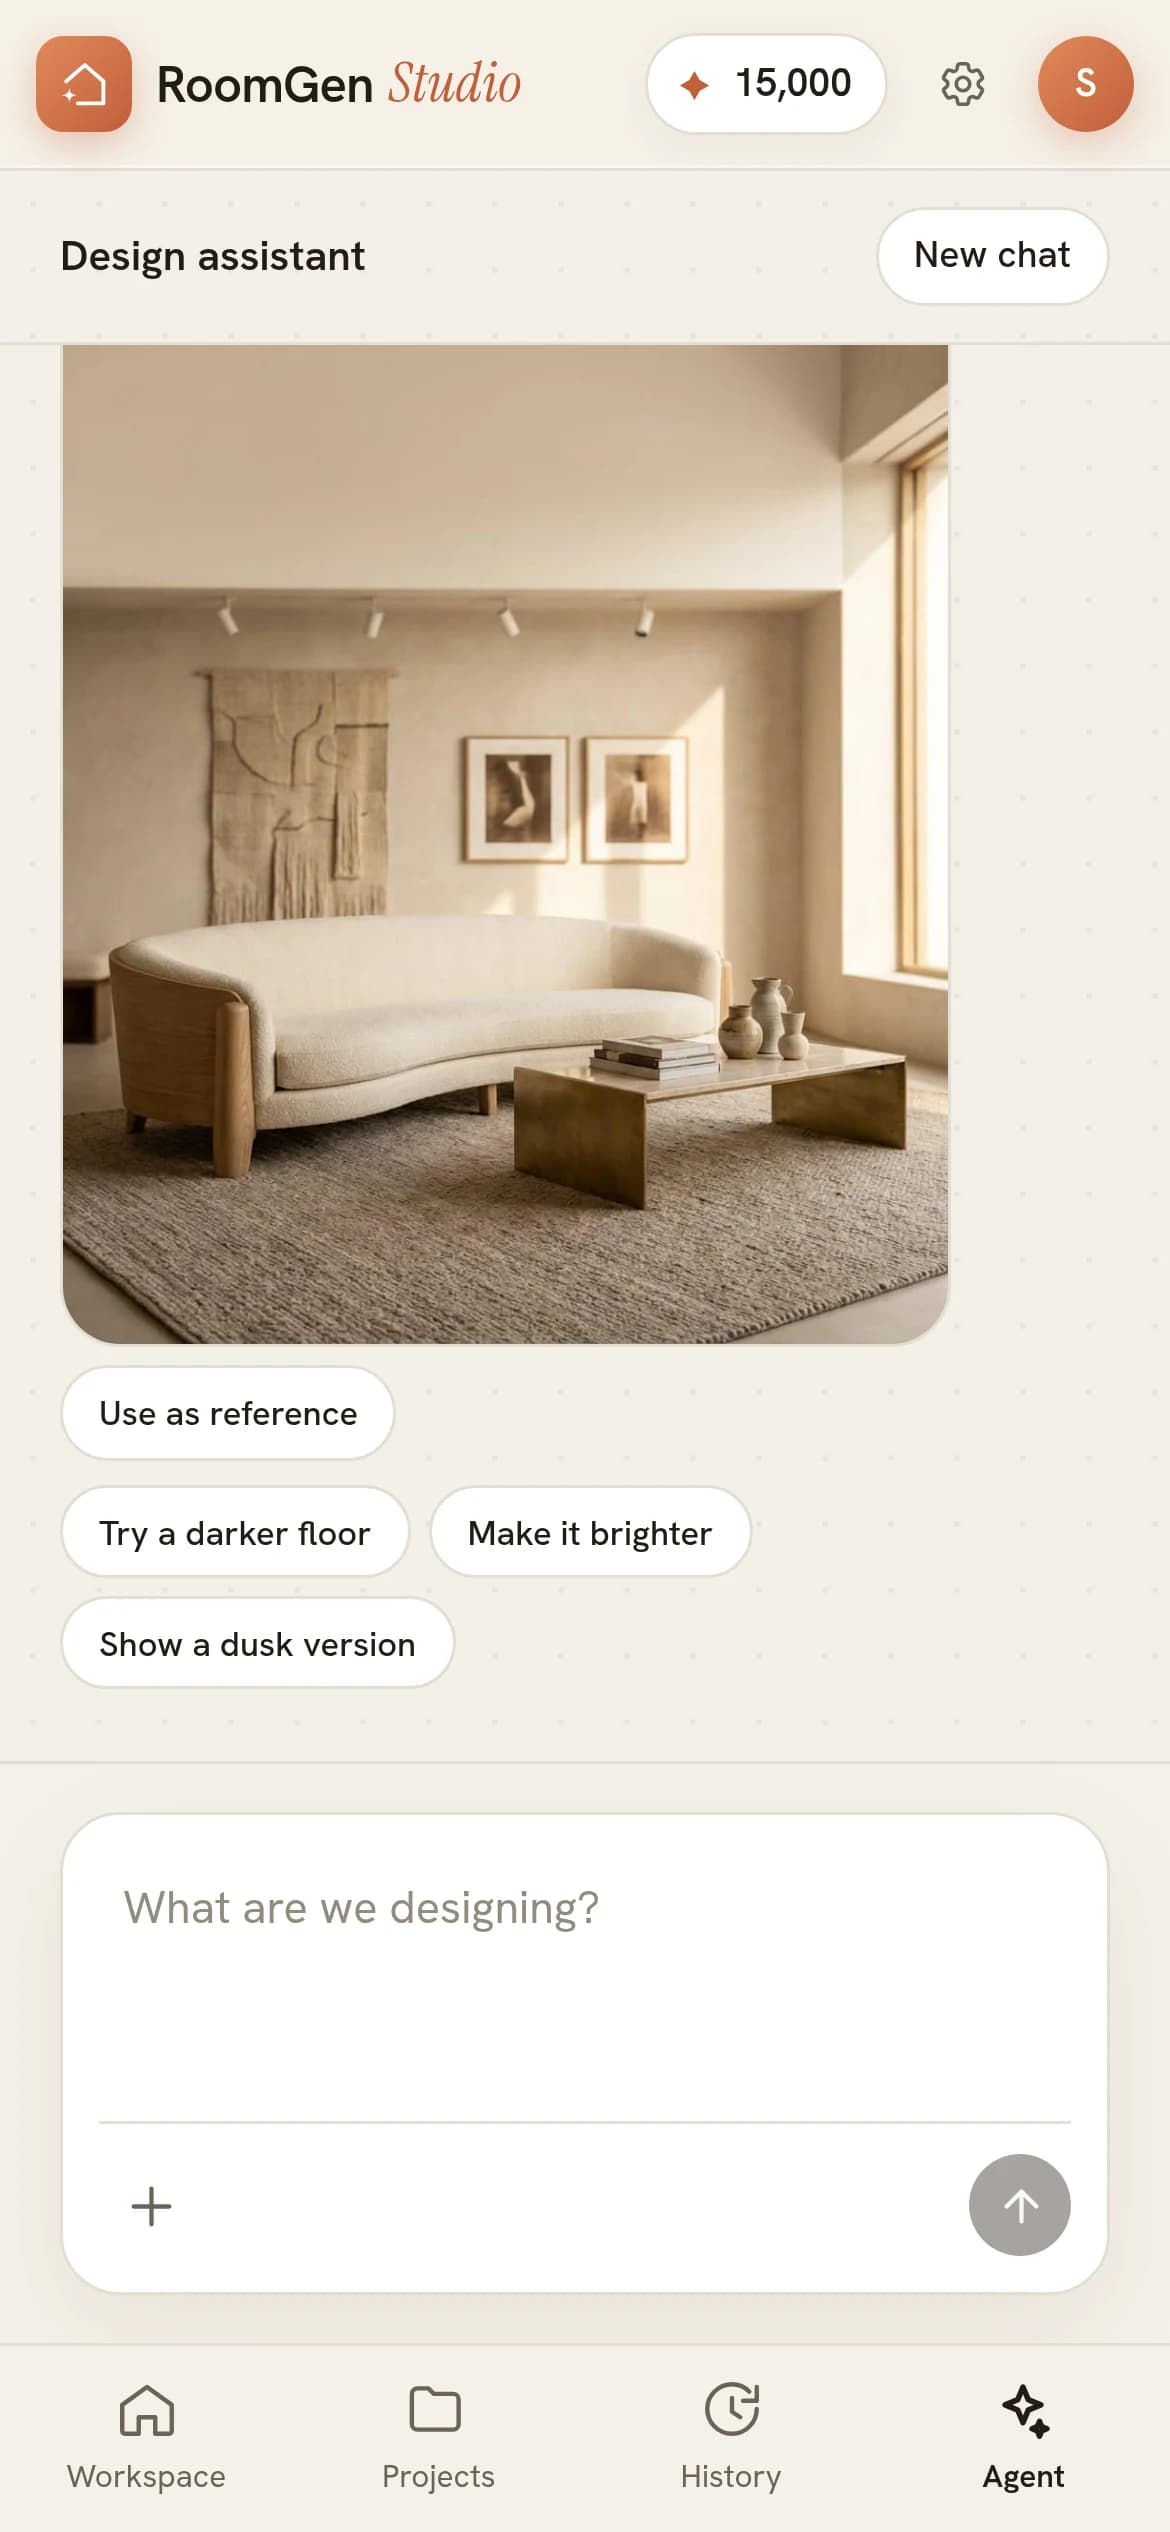
The Agent tab
The panel is a sheet you pull up
The panel is anchored to the bottom edge of the screen and rises when you pull its handle, so it covers the photo only when you ask it to. It rests at three heights: a bar, a little over half the screen, and nearly full height for reading a long thread. It opens at the middle one, which is the useful compromise on a restyle, since the thread is readable and the image is still in view.
Everything a prompt needs travels with the sheet. The pill row above the prompt leads with Upload photo and Camera, then scrolls sideways to AI sheet, Frame and Gallery, and three tabs sit along the foot: Agent, Designer library and AI Video. Flick the sheet rather than placing it, and it settles at the position your flick was heading for.
Say what changes, and say what must not
The sentence that saves you a second render names the constraint as well as the change. Something like restyle this living room in warm minimalist oak, and keep the sofa where it is does two jobs at once: it sets a direction, and it fences off the one thing you did not want reinterpreted.
Three parts are worth the typing, and nothing else really is.
- The room. Living room, bedroom, kitchen. It settles what the furniture is allowed to be.
- The direction. A material and a mood carry further than a style label on its own: warm minimalist oak rather than minimalist.
- The constraint. Whatever has to stay. The sofa, the window seat, the floor you laid last year.
Taking something out of the photo is a different job with its own tool, and it clears the shadow and the reflection along with the object. Removing furniture from a photo covers that side of it.
What comes back stays in the conversation
The render arrives as a message in the thread and stays there. There is no separate studio view to open and no file to go and collect. Under the image sits a Use as reference pill, which puts that render back in as the starting point for the next prompt, so a second pass begins from a room you have already approved.
Suggested replies do the same work for the obvious next moves. In the sample thread above they read Try a darker floor, Make it brighter and Show a dusk version, which is a tap each rather than a sentence typed with a thumb. That last one is a relight rather than a restyle, and changing the time of day in a render explains what moves and what holds still.
Everything generated in a conversation is kept in History, which sits in the bottom bar between Projects and Agent. A render made by chatting is filed exactly like one made any other way.
Where a phone stops: plans and maps
The boundary is easiest to see in the Designer library. Its presets are split across MAP, ROOM and RENDER sub-tabs, and the MAP set asks you to select a floor plan on the canvas before a style will apply. Getting a plan onto that canvas is the upload that needs a desktop, so the MAP row is the one a phone cannot feed. Start from a photograph and none of that applies.
A sensible division of labour follows from that. If the project starts with a drawing, set it up at a desk once and work it from your phone afterwards. If it starts with a photograph, which most restyles do, the phone is the whole tool and the desk is optional.
Two things worth reading next: what to check on a restyled room before it reaches a client, in AI furniture placement, and how to put the finished image into motion, in the AI interior design video generator.
Common questions
Can I design a room using only my phone?
Yes, if the room starts from a photograph. Projects are fully editable on a phone, so you can shoot the room, ask for the change in one line and get the restyled image back as the next message in the thread. Photos, renders, AI sheets and video clips all work. Four tools stay on desktop: floor plan upload, plan tracing, the map tools and Auto mode.
What stays on desktop?
Floor plan upload, plan tracing, the map tools and Auto mode. The first three are precision pointer work, since a corner is placed and nudged at a scale smaller than a fingertip, and Auto mode runs a long unattended chain of generations, which is a poor fit for a screen that sleeps and a connection that drops. They are shown greyed out with a short note rather than hidden, so you can tell a feature that is elsewhere from one that is missing.
How do I photograph a room and restyle it on the spot?
Open a project and tap Take a photo on the start card, or use the Camera pill in the row above the prompt. Shoot the wall you care about square on, then describe the change in one line, including anything that must not move. The finished image arrives as the next message in the thread.
Where does a render made in the chat end up?
In the thread, as a message. There is no separate studio view to open and no file to collect. A Use as reference pill sits under the image and puts that render back in as the starting point for your next prompt, and everything generated in a conversation is kept in History.
How do I stop the panel covering my photo?
Drag its handle down. The panel is a sheet anchored to the bottom edge of the screen with three resting positions: a bar holding the pills, the prompt and the tabs, a little over half the screen, and nearly full height. It opens at the middle one, and a flick carries it to the position you were heading for.
Try it on your own plan
Upload a floor plan or a room photo and see the first renders in about thirty seconds.
100 free credits · no credit card required
Get the next guide when it lands
We publish these as we work through what people actually ask about pricing, staging and turnaround. Leave an address to hear when a new one goes up.
Solo usamos tu dirección para escribirte sobre RoomGen. Política de privacidad · Términos