Interior design reels from a finished render.
Reels, the vertical-video tool in RoomGen Studio, turns work you have already signed off into a short 9:16 reel for a feed, a client presentation or a listing. Its nine templates show a room being renovated, furnished or built, a house rising from its plot, a shop opening for the day, a tour of a whole property and a floor plan becoming a model. The craft is in matching the template to the project and choosing an image that survives a vertical crop.
Updated · RoomGen Studio
What the Reels tool makes from a render
The Reels tool makes a short vertical video that tells one story about a project. You choose the story by picking a template, and the starting point by picking work you have already signed off, usually one finished render. Most templates then give you one or two keyframes to review. A keyframe is a still of the same space at another state: the room before the work started, emptied of its furniture, stripped back to a bare shell, or the site as an empty plot.
The video moves between exactly the keyframes you confirm, and on the templates that run on one render it finishes on that render. That is why starting from approved work matters. The last frame is the image your client already agreed, the frames before it are the same room at earlier stages, and the space stays recognisably itself from start to finish. You can also judge most of the result from the keyframes alone.
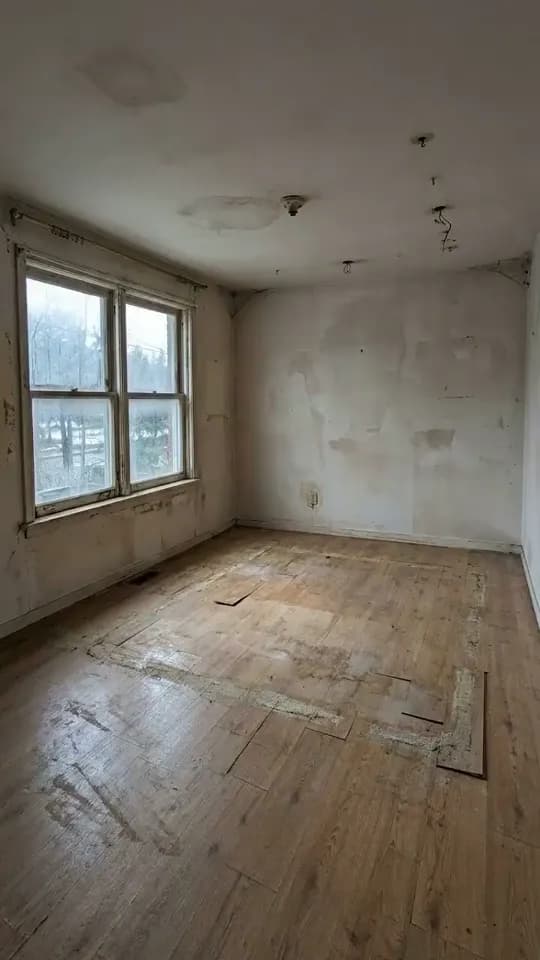
Renovation reveal
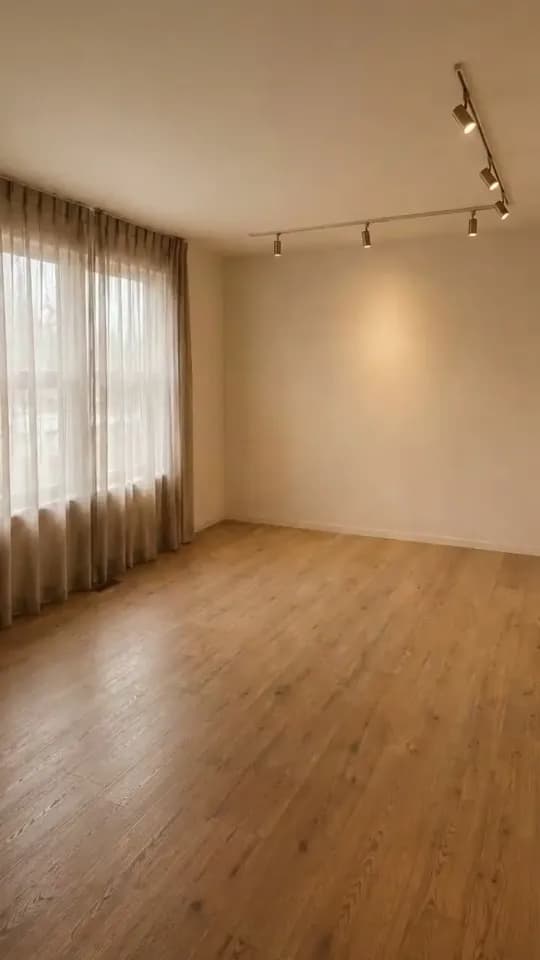
Furniture pop-in
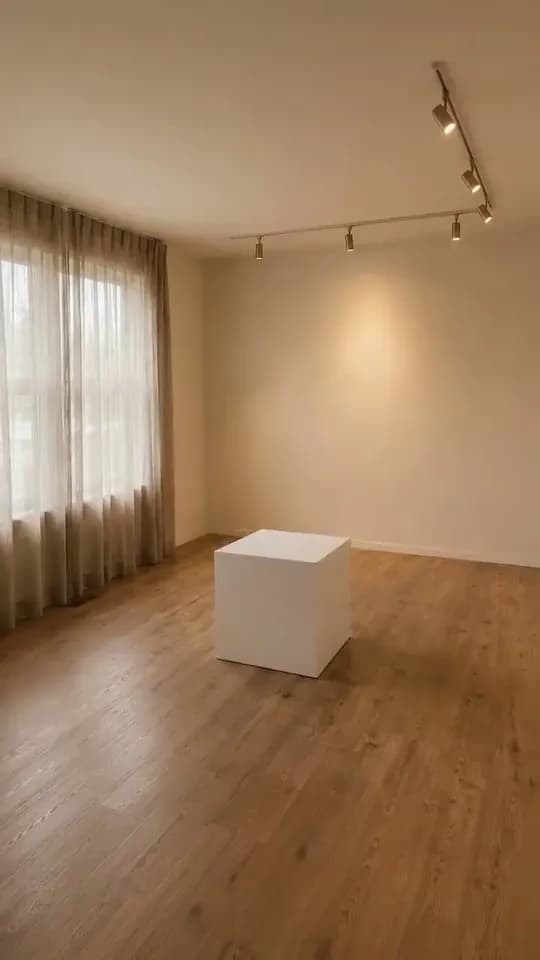
Unboxing
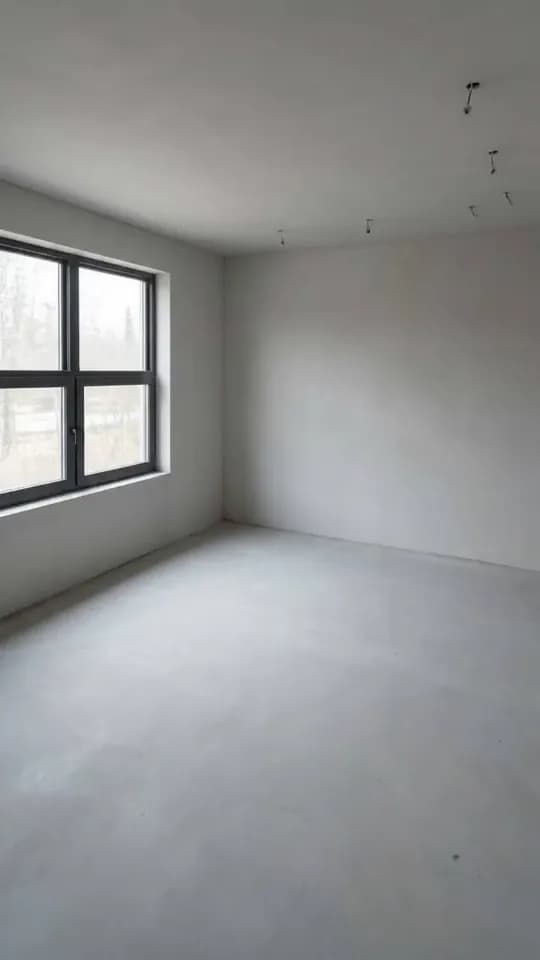
Room builds itself
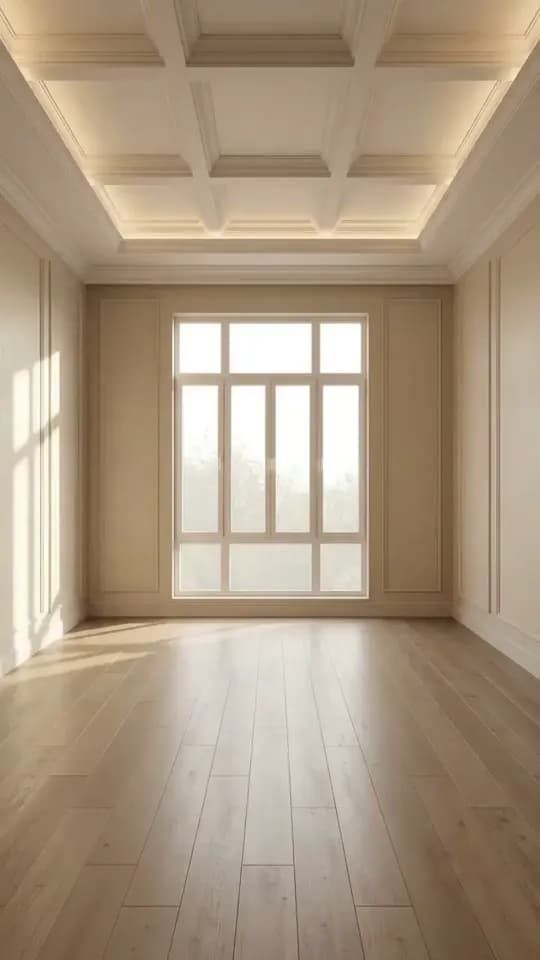
Furniture flies in
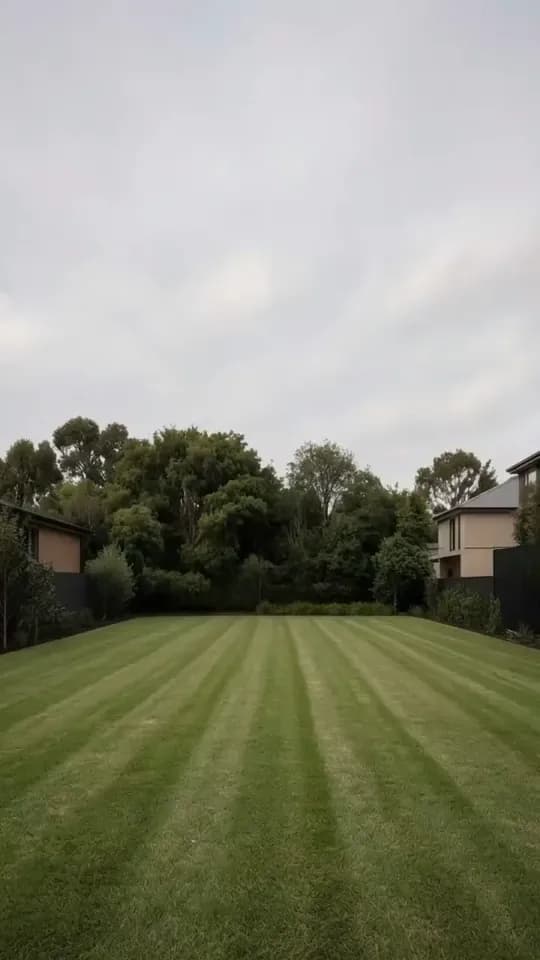
Hologram build
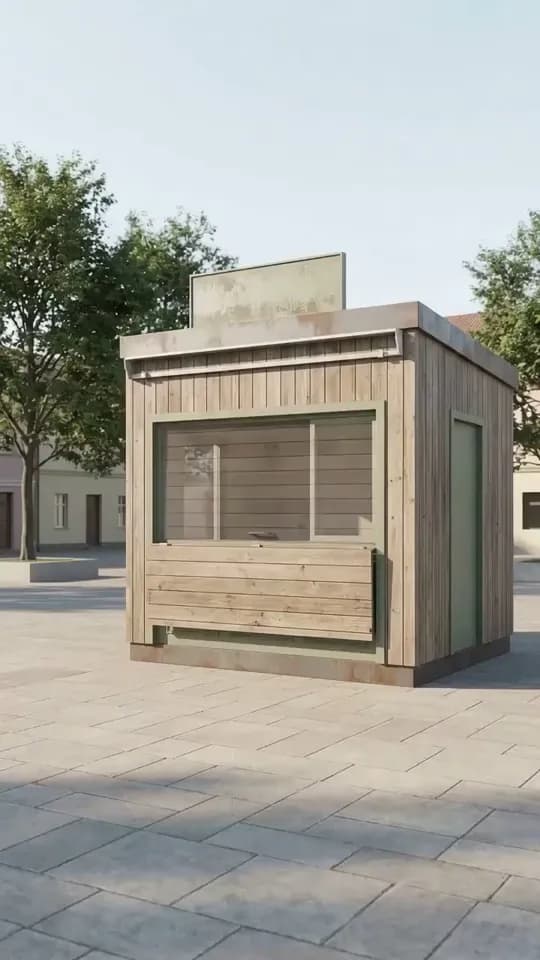
Business opens
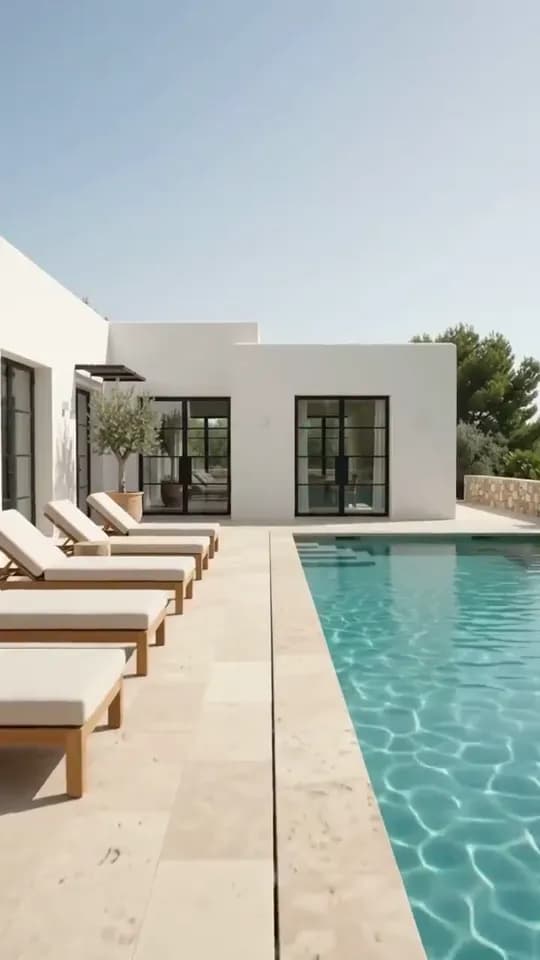
Listing tour
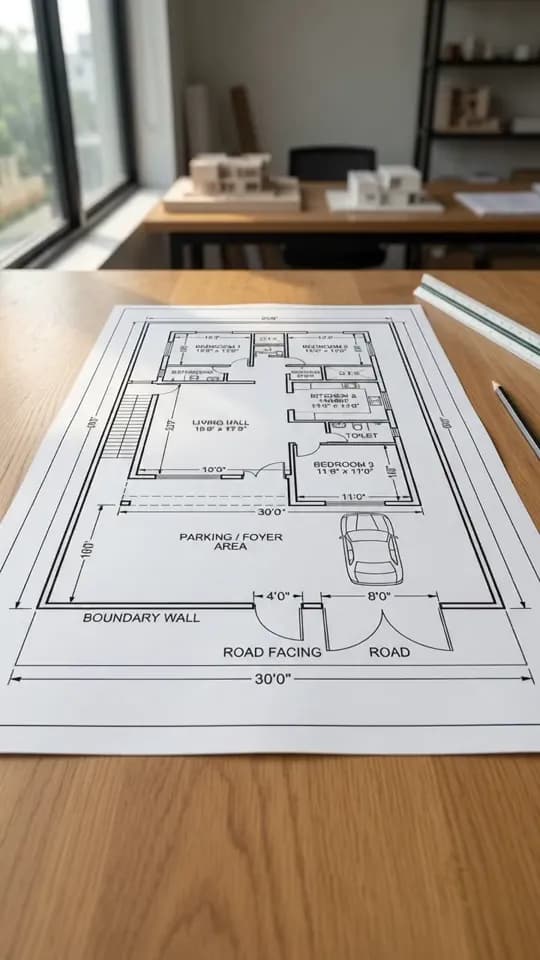
Blueprint build
The nine reel templates, and who each one suits
Pick a reel template by what changed in your project: the fabric of a room, its furniture, a whole building, a business, or a plan becoming a house. The table sets out the fixed parts of each template. Each one also has its own guide, linked below, covering the renders that suit it and the keyframes to check.
| Template | Starts from | Keyframes you review | Length and resolution | Best for |
|---|---|---|---|---|
| Renovation reveal | One finished room render | Two: the room before work, and under construction | About 8 seconds, from two 4-second clips; 720p or 1080p | Refurbishments where the building work is the story |
| Furniture pop-in | One finished room render | One: the room emptied | 4 seconds; 720p or 1080p | Furnishing-led schemes and home staging |
| Unboxing | One finished room render | One: the emptied room with a single white box | 4 seconds; 720p or 1080p | Launches, furniture edits, staging announcements |
| Room builds itself | One finished room render | One: the bare shell | 8 seconds at 720p | New builds, extensions, flats handed over bare |
| Furniture flies in | One finished room render | One: the room with furniture, curtains and hanging lights taken out | 8 seconds at 720p | Furnished rooms, with more movement than pop-in |
| Hologram build | One exterior render | One: the site as an empty plot | 8 seconds at 720p | Architects, builders and developers announcing a house |
| Business opens | One render of a shop, café, kiosk or food truck | One: the unit closed and unbranded | 8 seconds at 720p | Shopfitters, hospitality designers, opening countdowns |
| Listing tour | Three to six renders of one property | None: your renders, as numbered stops | 8 seconds at 720p | Estate agents, stagers and developers |
| Blueprint build | A floor plan upload, kept whole | Two: the plan on a desk, and the finished model | 8 seconds at 720p | Architects and builders pitching from the plan |
Length comes with the template, and short suits the format: each template carries one idea, so the viewer only has to notice one thing. Renovation reveal, Furniture pop-in and Unboxing also let you choose Fast or Quality and 720p or 1080p. Those choices can change the price, which the cost question at the end of this guide sets out.
For a single room
- Renovation reveal. Runs from a tired room, through construction, to your finished render. Choose it when the building work is the story: a kitchen, a bathroom, a full refurbishment.
- Furniture pop-in. The room starts empty and fills piece by piece in a quick stop-motion rhythm. It suits schemes where the pieces themselves are the point.
- Unboxing. A single white box stands in the emptied room, opens, and the room assembles out of it. A playful reveal for a launch or a new furniture edit.
- Room builds itself. Starts from a bare shell and plays the fit-out forward until your render lands. Made for rooms with no meaningful before.
- Furniture flies in. The pieces travel into the room and settle into place. Choose it over pop-in when you want the arrival to carry more movement.
For a building or a business
- Hologram build. Raises the house on its empty plot as a glowing wireframe that turns solid, finishing on your exterior render.
- Business opens. Shows a shop, café, kiosk or food truck opening for the day, ending on your render, sign and all.
For a whole property or a plan
- Listing tour. Runs three to six renders of one property together as a single short vertical tour, for presenting a whole home rather than one room.
- Blueprint build. Builds a scale model of the house up out of a floor plan upload. It is the one template that keeps its source whole rather than cropping it.
How to make a reel in RoomGen Studio
Two choices come first. Open Reels from the VIDEO group in the RoomGen Studio sidebar and pick a template in the panel, or press Expand to browse the full library at full size. Then pick what it runs on: the render the reel should end on, the set of renders for a listing tour, or the floor plan for a blueprint build. A four-step wizard takes it from there.
- Frames. Review each keyframe closely. Regenerate it with a short plain-language instruction, or supply your own still from the Gallery or an upload, then confirm them in order. For Listing tour the step shows your renders as numbered stops instead, for a last check.
- Settings. Make any choices the template offers. Before you commit, the Generate button shows the exact credit total, and the chip beside it shows how many reels at that price your balance covers.
- Generate. Press it when you are happy. The work runs in the background, so you can close the wizard and come back: Reels offers a resume card, and work already paid for is kept. A clip that fails gets a Retry button beside it. If the clips finish but cannot be joined into one video, the join gets a Retry button too, and the clips wait in the Gallery.
- Result. The finished MP4, plus each clip on its own when the template makes more than one, saves to the project’s Gallery, ready to download.
What a 9:16 crop keeps
A reel is vertical whatever it started as, and most renders come out landscape. The source is centre-cropped to 9:16 rather than letterboxed, which from a 16:9 still leaves roughly the middle third of the width. The full height survives; the sides do not. Blueprint build is the exception. It keeps a floor plan whole, because a plan with its sides trimmed off is no longer the plan.
That one fact decides which images are worth a reel. A wide living room with the sofa pushed to the left and a window on the right loses one of them the moment it goes vertical. A room shot with the subject centred and depth running away from the camera keeps everything it had. Before you commit, cover the outer thirds of the render with two fingers. If the strip that remains still reads as a room, it will survive the crop.
Vertical framing also rewards height, which landscape work trains you to ignore. A curtain falling the full height of the frame reads well in a tall picture. So does a track of ceiling spots, a floor lamp standing clear of the sofa, or boards running out of the bottom edge. The tall frame wants a top, a middle and a bottom.
Which renders make a good reel
Pick for the crop first and the styling second. The renders that reel well tend to share four things:
- a clear subject near the centre of the width;
- visible floor in the lower part of the frame;
- something happening at ceiling height, such as a pendant, a lighting track or a curtain head;
- perspective that recedes, so movement has somewhere to travel.
A flat elevation of a fitted wall has none of these, and no template can rescue it. Scale matters more than detail, too. On a phone, a bouclé curve or a round fluted table holds its silhouette, while a styled shelf of small objects turns into texture.
The room templates open on your room at an earlier state, so the architecture has to be legible. Windows, doors, the ceiling line and the floor should be plainly readable, because they are what stays put while everything else changes. A render with its walls lost in shadow leaves you little to check a keyframe against. For a listing tour, also check that the set reads as one property, with the same scheme, the same light and the same time of day in every render.
If all you have is a room photo, turn it into a render first with a redesign from a room photo, or use the AI interior design video generator, which takes a photo straight to a clip.
Checking the keyframes before you spend
The keyframes decide the reel, so read each one closely for continuity rather than beauty. Check that the window sits in the same place, the floor is the same floor and the ceiling line has not moved. A keyframe that quietly changes the room produces a reel that seems to cut to somewhere else.
Nothing is spent on video until you press Generate, and each generated keyframe costs 150 credits, so this is the cheap place to be fussy. Regenerating with a short instruction is the usual fix. The instructions that work are small and physical, such as “keep the rug” or “smaller box nearer the window”.
Supplying your own still is free, and it is the obvious move when you have a genuine empty shot of the room. If you are making that shot yourself, clearing the furniture out of a photo gives you a frame of the real room, as long as the photo was taken from roughly where the render’s camera stands.
Where to post a reel, and how to use it
A finished reel is ready to post as it is. The reel and its clips save to the project’s Gallery, and the MP4 is already 9:16, the vertical shape that fills a phone screen on Instagram Reels, TikTok and YouTube Shorts, so it goes up without reframing. Add captions, music and text in the app you post from. Each app lays its own buttons and caption over the picture, so text near the top, the bottom or the right-hand edge can disappear under them. Preview the post in the app before it goes out.
Social is only one use. A reel makes a strong opening in a client presentation, ahead of the drawings and the schedule, and it is easy to send on from the Gallery after the meeting. For a project launch or a shop opening it gives you a post that needs no explanation. Where a template makes more than one clip, keep the separate files: the reveal half of a renovation reel often works as a post of its own.
One reel carries one room or one idea. For more on screen, make a second reel from another render rather than wishing for a longer one, so a project with four finished rooms becomes a short series. That is also how a set of reels compares with a single longer walkthrough, the trade covered in turning a render into a video.
What the Reels tool will not do
The Reels tool makes one shape at a set length: every reel is 9:16, and the template decides how long it runs. Each reel shows one space, except Listing tour, which runs several renders of one property.
Nor does a reel document real work. A renovation reveal compresses a transformation that did not happen in that order, or perhaps at all. A house rising from its plot or a shop opening for the day shows a design, not a build. Present every reel as design intent rather than site documentation. On a listing, label it as a visualisation wherever you would label a staged still, and take the same care as with AI video on property listings. A buyer should never take a reel as a record of the building.
Where to start
Start with the template that tells your project’s story most plainly, and the render you are least likely to change. If your story suits Renovation reveal, Furniture pop-in or Unboxing, you can try that template free first: open the sample project, open the AI Video tab on its canvas and pick the template. It shows you what the template does before you commit a client’s render. When you are ready to run one on your own work, compare the plans and credits.
This guide is kept by the RoomGen Studio team and describes Reels as it works on 28 September 2026. You can read more about RoomGen Studio and how the team works.
Common questions
Can I use a photo instead of a render to make a reel?
Most templates in the RoomGen Studio Reels tool run on a finished render, and Blueprint build starts from a floor plan upload. A photo still has a place. At the Frames step you can supply your own still, such as a photo of the real empty room, instead of a generated keyframe, at no cost, as long as it shares the render’s viewpoint. If a snapshot is all you have, turn it into a render first, or use the separate AI video tool, which takes a photo straight to a clip.
How much does a reel cost, and can I try one free?
A reel made with the Reels tool in RoomGen Studio is priced in two parts. Each keyframe the studio generates costs 150 credits, including every regeneration, and a still you supply yourself costs nothing. The video is priced on the Settings step, and its price depends on the template. Renovation reveal, Furniture pop-in and Unboxing also let you choose Fast or Quality and 720p or 1080p. At 720p, Fast costs less than Quality; at 1080p, both settings cost the same. The Generate button shows the exact credit total, and the chip beside it shows how many reels at that price your balance covers. No video credits are taken until you press it. The Reels tool is on paid plans. Three templates, Renovation reveal, Furniture pop-in and Unboxing, can be tried free on the sample project, from the AI Video tab on its canvas.
What resolution should I choose for a reel?
Only three templates offer a choice: Renovation reveal, Furniture pop-in and Unboxing, each at 720p or 1080p. The other six make 720p reels. 720p is the sensible default for a feed watched on a phone. Pick 1080p when the same reel will also play on a website or on a screen in a meeting.
What happens if I close the wizard, or a clip fails?
You can close the wizard at any step. Once you have pressed Generate, the video carries on in the background. When you come back, Reels in RoomGen Studio offers a resume card, and the frames you already paid for are still there. If a clip fails, the Generate step marks it as failed and puts a Retry button beside it, and any clips that did finish are already in the project’s Gallery. If the clips finish but joining them into one video fails, they stay in the Gallery and you can retry the join. If a retry still does not go through, write to hello@roomgen.studio.
Can I add music and captions to an AI interior design reel?
Not in the Reels tool. It hands back a finished MP4, plus each clip as its own file when a template makes more than one, all saved to the project’s Gallery. Sound, captions and text overlays belong in whatever app you post from, where you can preview them against the app’s real interface instead of guessing at it.
Try it on your own plan
Upload a floor plan or a room photo and see the first renders in about thirty seconds.
100 free credits · no credit card required
Get the next guide when it lands
We publish these as we work through what people actually ask about pricing, staging and turnaround. Leave an address to hear when a new one goes up.
Solo usamos tu dirección para escribirte sobre RoomGen. Política de privacidad · Términos