See it in your room first.
Two photographs answer the question a product page cannot: the piece you are considering, then the room it would live in. What comes back is that piece standing in your space, at true scale, under your own light.
Product first, room second
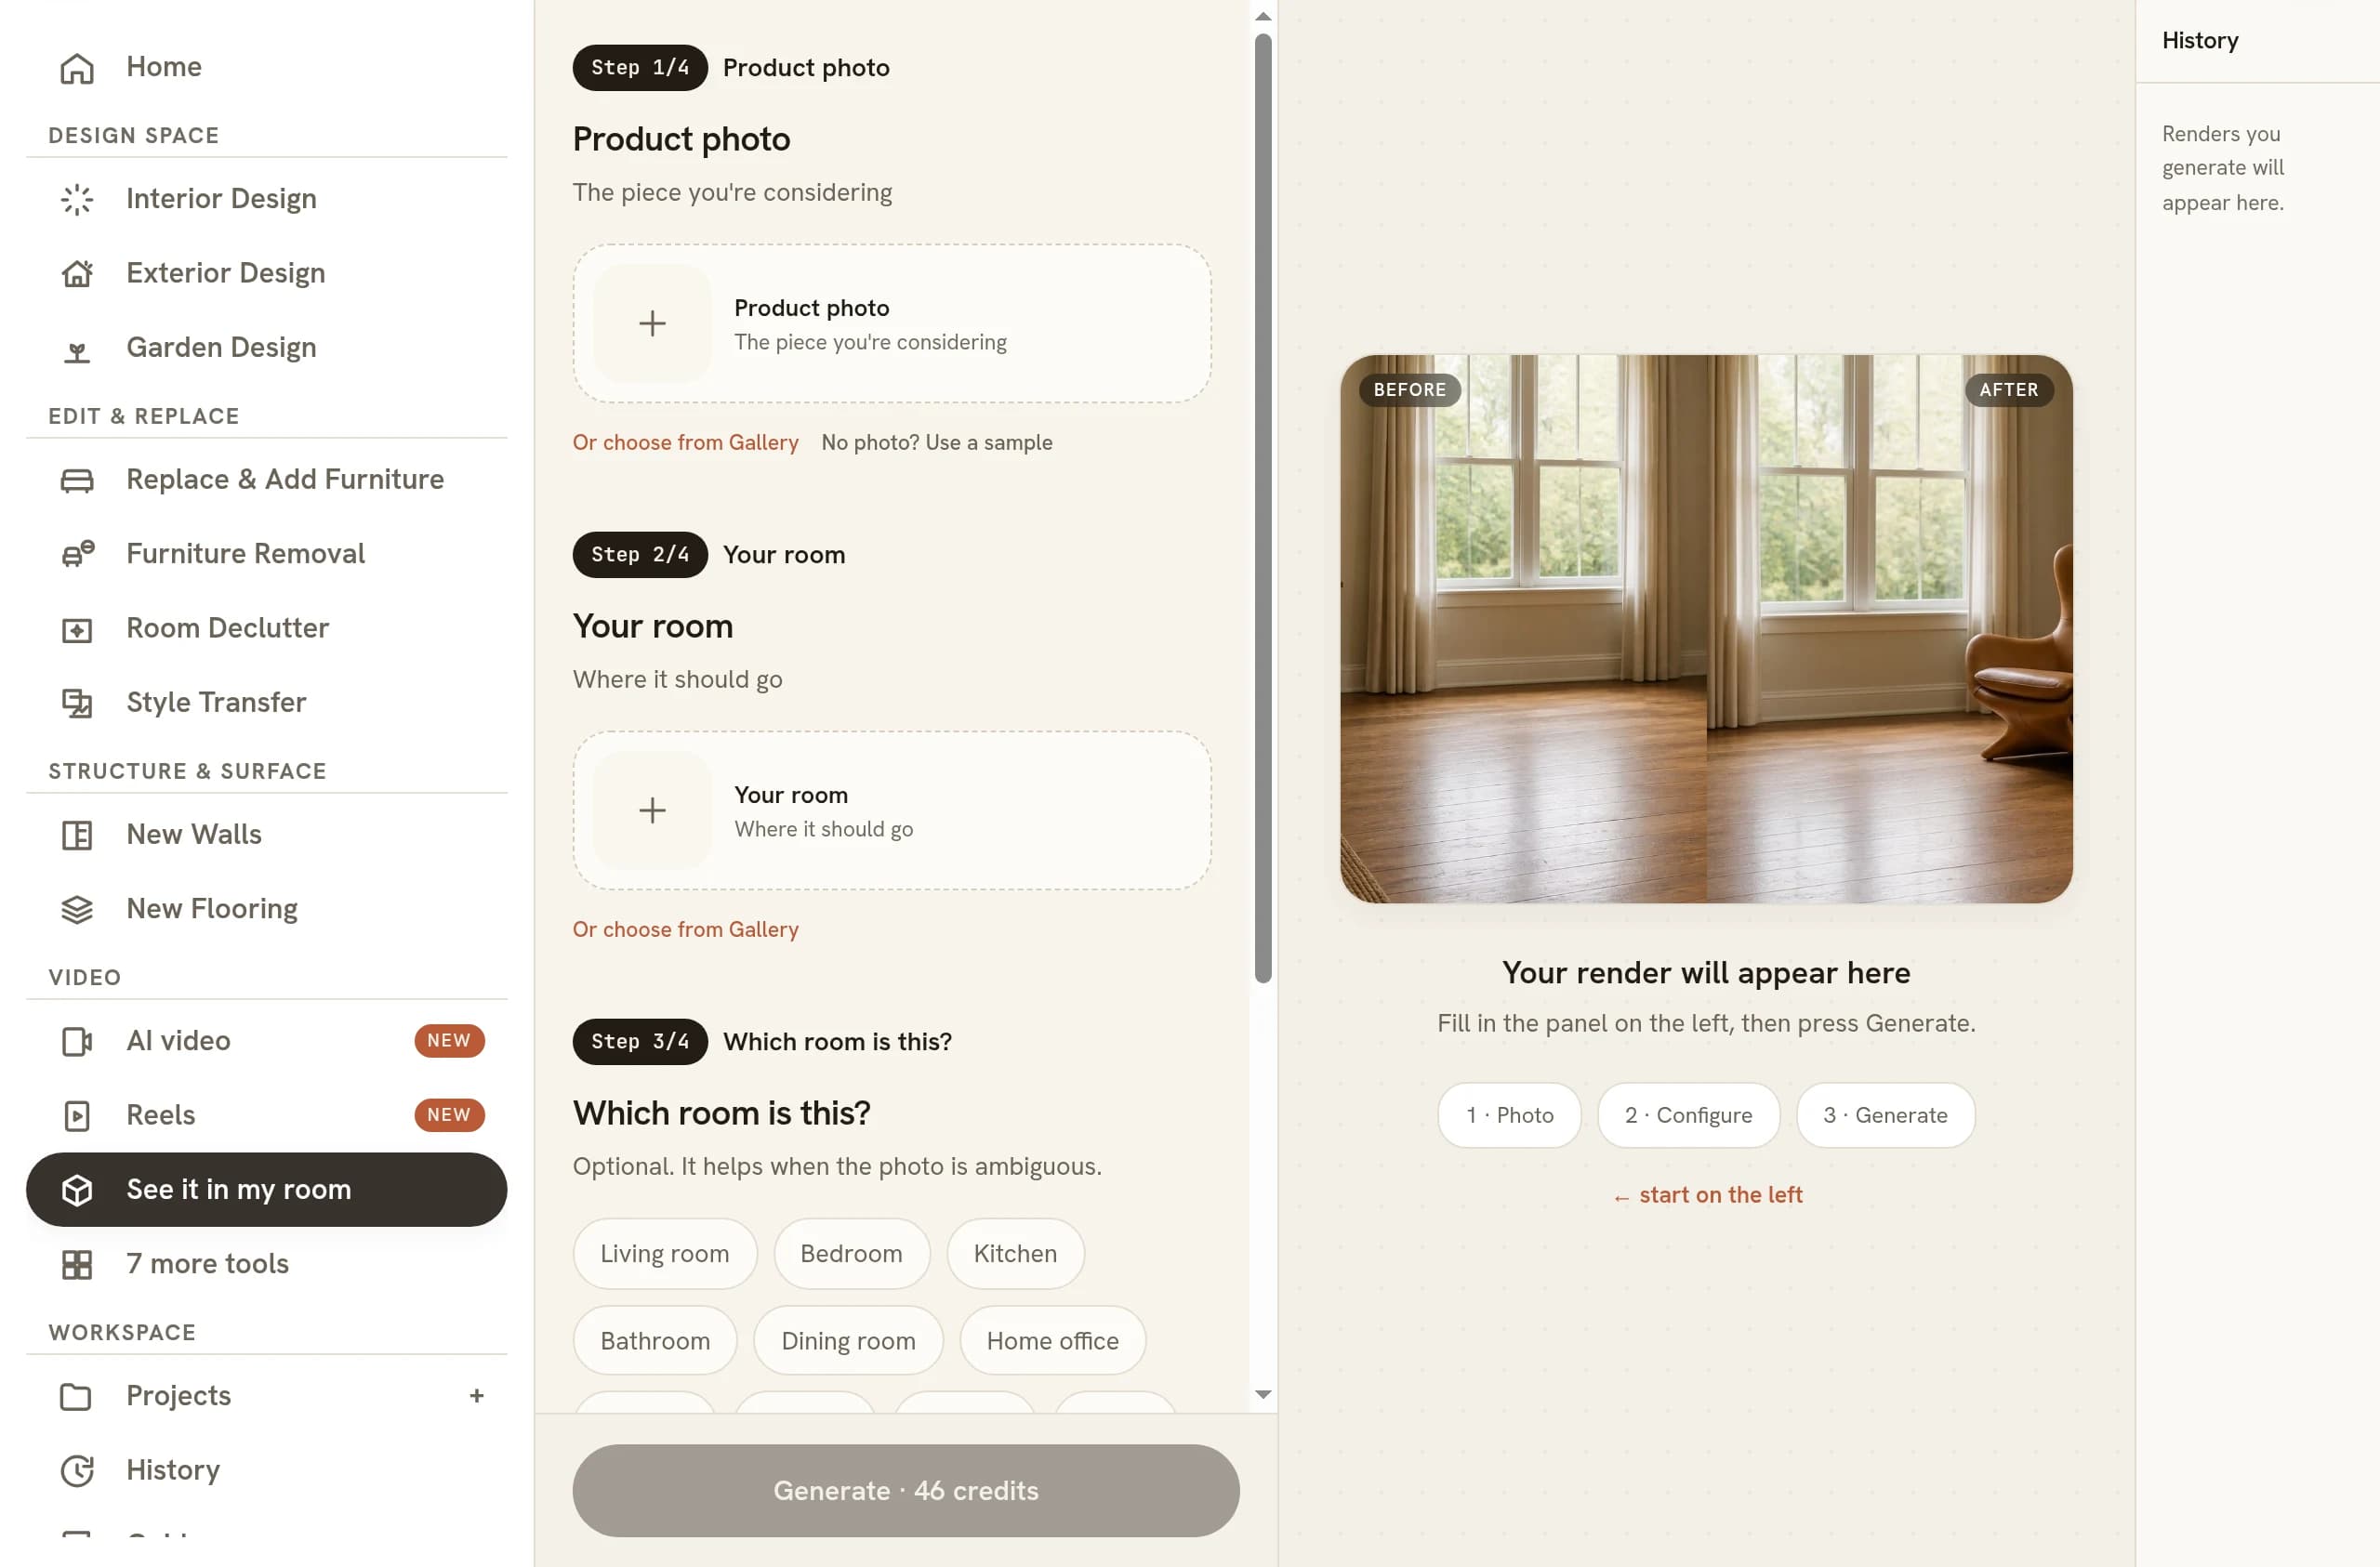
The tool takes two uploads and the order carries meaning. The first image is the product: the sofa, rug, floor lamp or piece of wall art you are thinking about buying. The second is your room, photographed as it looks today. The first is read as a reference for what the object is, the second as the place that object has to live in. Reverse them and you get your room folded into a catalogue shot, which is not the question you asked.
You also name the item in a few words. That short phrase does real work, because it tells the render what kind of thing it is holding and therefore where that thing belongs. Say rug and it goes on the floor. Say wall art and it goes on a wall.
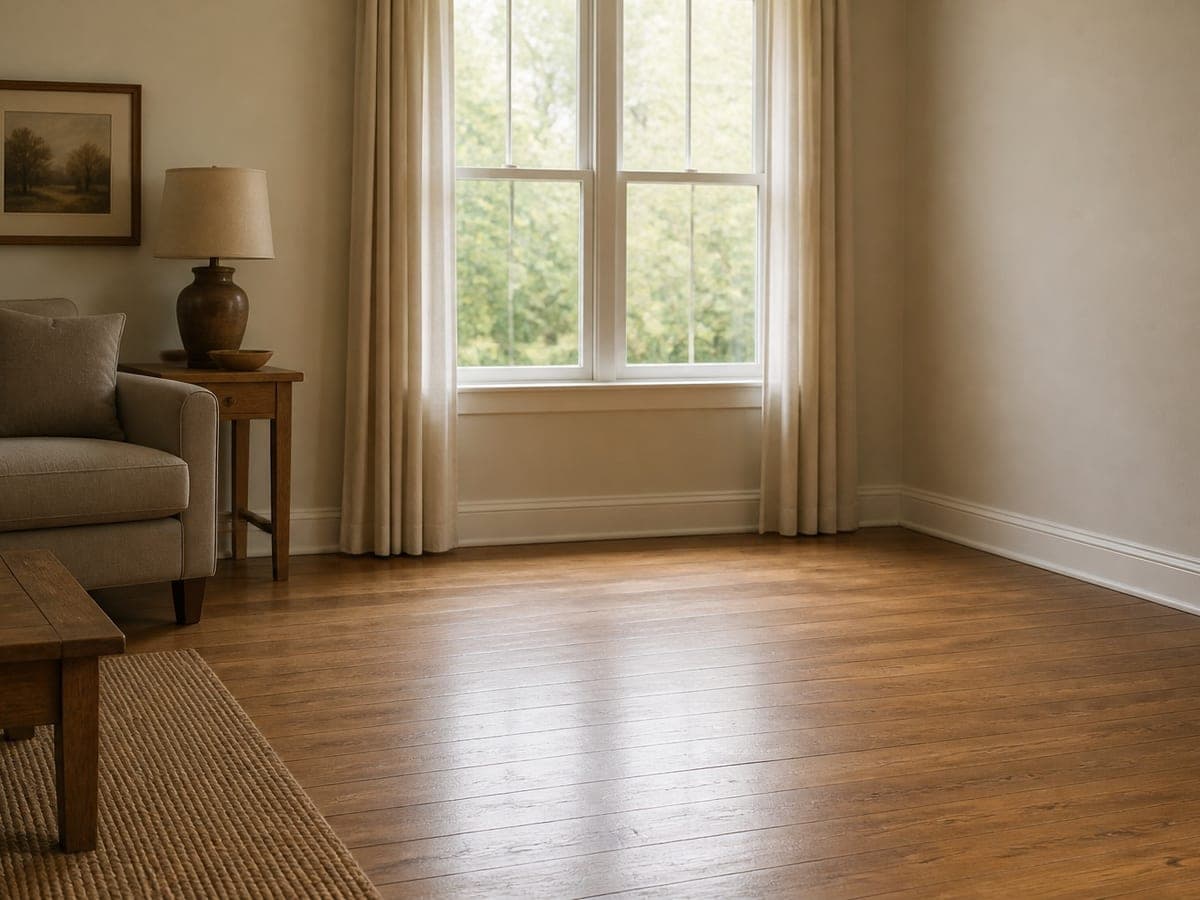 Your room
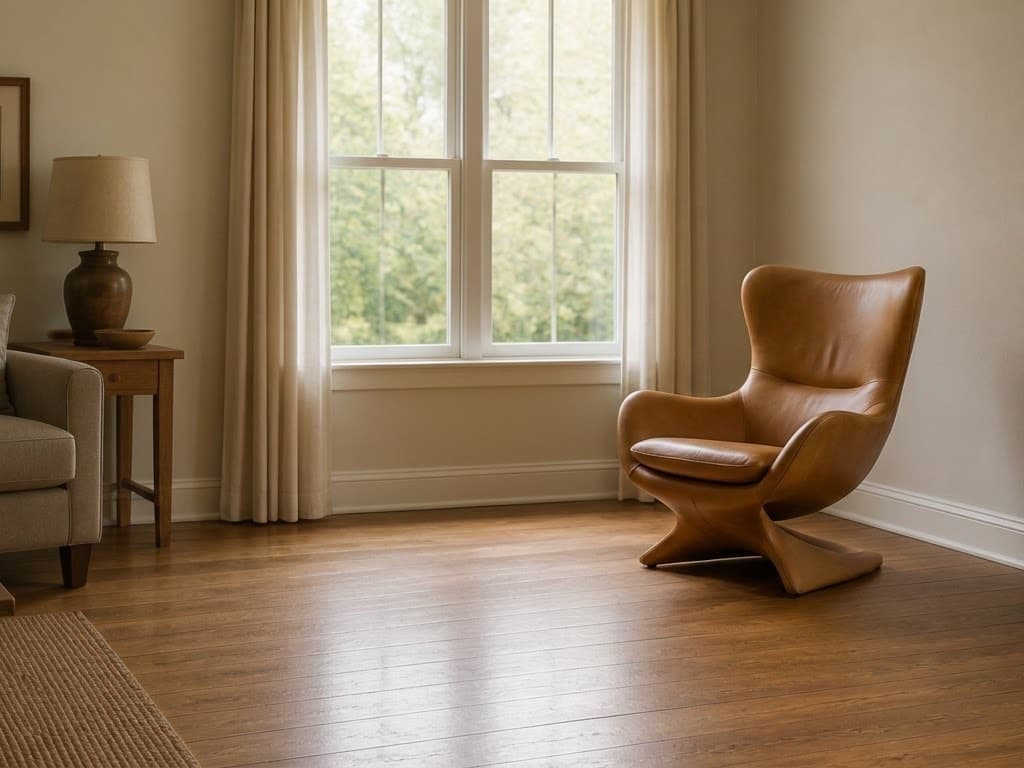 Chair placed
What comes back is one image. The product is scaled to true real-world proportions against the things around it, angled to match the camera position you shot from, and given the shadows and reflections your room would actually cast on it. Nothing else in the picture moves. Your floorboards run the same way they did, the sofa you already own keeps its place, and the window trim behind it comes back untouched. Only the new piece is new.
What makes a product shot worth uploading
The quality of the placement rests almost entirely on the first image. A good one shows a single item, filling most of the frame, against a plain or quiet background. The whole object is in shot, nothing is cropped at the arm or the leg, and the picture is sharp enough that you can see how the piece is made.
Retailer listing photographs are usually excellent for this, because the plain studio shot is exactly the form the tool wants. The pictures to skip are the styled lifestyle scenes further down the same page: the sofa half hidden behind a coffee table, shot in someone else's living room, with a model sitting on one end. Every extra object in that frame is something the render has to decide whether to carry across.
Two other things to look for. Choose a shot taken from roughly eye level or a little above, the way you would see the piece standing in a shop, rather than a flat elevation or a steep overhead. And avoid images with a price badge, a sale flash or a heavy watermark printed over the item, because that graphic sits on the object as far as the render is concerned.
Real scale, in the light you already have
Scale is the part a product page cannot give you. A sofa listed at 210 centimetres is a number, and numbers do not tell you whether the piece will swallow the wall it goes against. Placing it in your own photograph turns the number into a proportion you can read at a glance, measured against the skirting board, the window sill and the width of your floorboards. Scale is also where generated interiors most often go wrong, which is why anchoring the piece to real surfaces in a real photograph matters more than it sounds.
Light does the second half of the work. The piece is lit by the room you photographed, so a chair placed near a window carries the fall of that window across its seat, and a lamp placed in a dim corner glows against the ambient level already in the picture. That is why a shot of the actual room beats a mood board. You are not seeing the furniture, you are seeing the furniture in the conditions it will spend its life in.
Keep a tape measure in the loop anyway. The render tells you whether a piece belongs in a space; it does not promise that a 96 centimetre armchair clears an 88 centimetre alcove. Use the image for proportion and the tape for fit. If you want the reasoning behind where things land, the guide on automatic furniture placement covers how a piece finds its natural position in a room.
Replacing a piece in place, or adding one
There are two behaviours here and it helps to know which one you are asking for. Photograph a corner that already holds an armchair and the new one lands in that corner, standing where the old chair stood and taking up the same patch of floor. If there is nothing equivalent in the photograph, the piece is placed where that kind of object naturally goes.
Most of the time replacement in place is what you want, because it answers the honest question of whether the new thing is better than the thing you own. The comparison is direct and the rest of the room holds still around it. The exception is a piece you have already decided to get rid of, or clutter that crowds the spot you are shopping for. In that case clear the old item out of the photograph first, then place the new one into the space you have opened up.
What it will not tell you
Colour under your own bulbs is the first limit and the most expensive one to ignore. A fabric photographed in a lit studio, viewed on your screen, then placed under the warm LEDs in your living room at seven in the evening is three different colours. The render will give you a plausible version, not a proof. For anything where the exact shade decides the purchase, order a swatch and hold it against the wall.
The second limit is angle. A product photographed from one side gives the render one side to work from, so any face the camera never saw is inferred rather than known. A front three-quarter shot is the safest input, because it shows a front and a side at once. When the piece has a distinctive back, which is true of most sculptural chairs, treat the rear view in the result as an approximation.
Fine detail is the third. Stitching, grain direction, weave and hardware finish are the things you should verify from the listing photographs at full size rather than from a placed render. What this tool is genuinely good at is the decision one step earlier: shape, mass, colour family and whether the room has room.
Working through a shortlist
The strongest habit is to fix one room photograph and run every candidate against it. Five sofas placed in your room can be compared honestly, because they share a camera, a floor and a light source. Five retailer photographs cannot, because each was shot in a different studio by someone whose job was to make that particular sofa look good. Compare the renders, not the tabs.
Once a shortlist is down to one or two, it is worth widening the question from the object to the scheme. A room that needs a new chair often needs a rug and a lamp along with it, and that is a conversation rather than a single placement. Related: designing a room by chat and designing a room from your phone.
Common questions
Can I see furniture in my room before I buy it?
Yes. Two uploads are enough: a clear photograph of the item, then a photograph of the room, taken in whatever state the room is in today. Nothing needs measuring, modelling or clearing beforehand. The result is a single image of that item in that space, which you can read for proportion and colour family before you commit money to it.
Does this work for rugs and wall art or only large furniture?
Rugs, lamps, wall art, mirrors and shelving all work, along with anything that has one clear form. The limiting factor is how much of the frame the item occupies once it is in the room: small tabletop objects end up too few pixels across to judge, so a vase or a candle holder is a poor use of a placement.
Can I try several sofas in the same room photo?
Yes, and running a shortlist one candidate at a time is the point. Reuse the same room photograph for every sofa rather than reshooting between attempts, and keep the naming phrase consistent so each run is treated the same way. Then view the results side by side at full size, where differences in depth and arm width show up quickly.
What kind of photo should I take of my room?
Shoot from standing height from the doorway, with the floor where the piece would land clearly visible. Include two walls and something of known height, such as a skirting board or a window sill, so the space has depth. Turn the main lights on, hold the camera level, and avoid shooting straight into a bright window.
Can I do this from my phone?
The whole thing is built for a phone. You are usually standing in the room when the question comes up, so photographing the space takes seconds, and the product image is normally already on the screen you were shopping on. Save it to your camera roll and upload the two pictures in that order.
Try it on your own plan
Upload a floor plan or a room photo and see the first renders in about thirty seconds.
100 free credits · no credit card required
Get the next guide when it lands
We publish these as we work through what people actually ask about pricing, staging and turnaround. Leave an address to hear when a new one goes up.
We only use your address to email you about RoomGen. Privacy policy · Terms